Configure shadow mask with MicroSplat
Configure shadow mask with MicroSplat
In this small guide I will explain how generate the mask created with the Shadow Mask Creator with the MicroSplat terrain shader.
I will use the extended demo scene you can download from our website as an example.
You will need the free core Microsplat asset installed. You can download that from asset store.
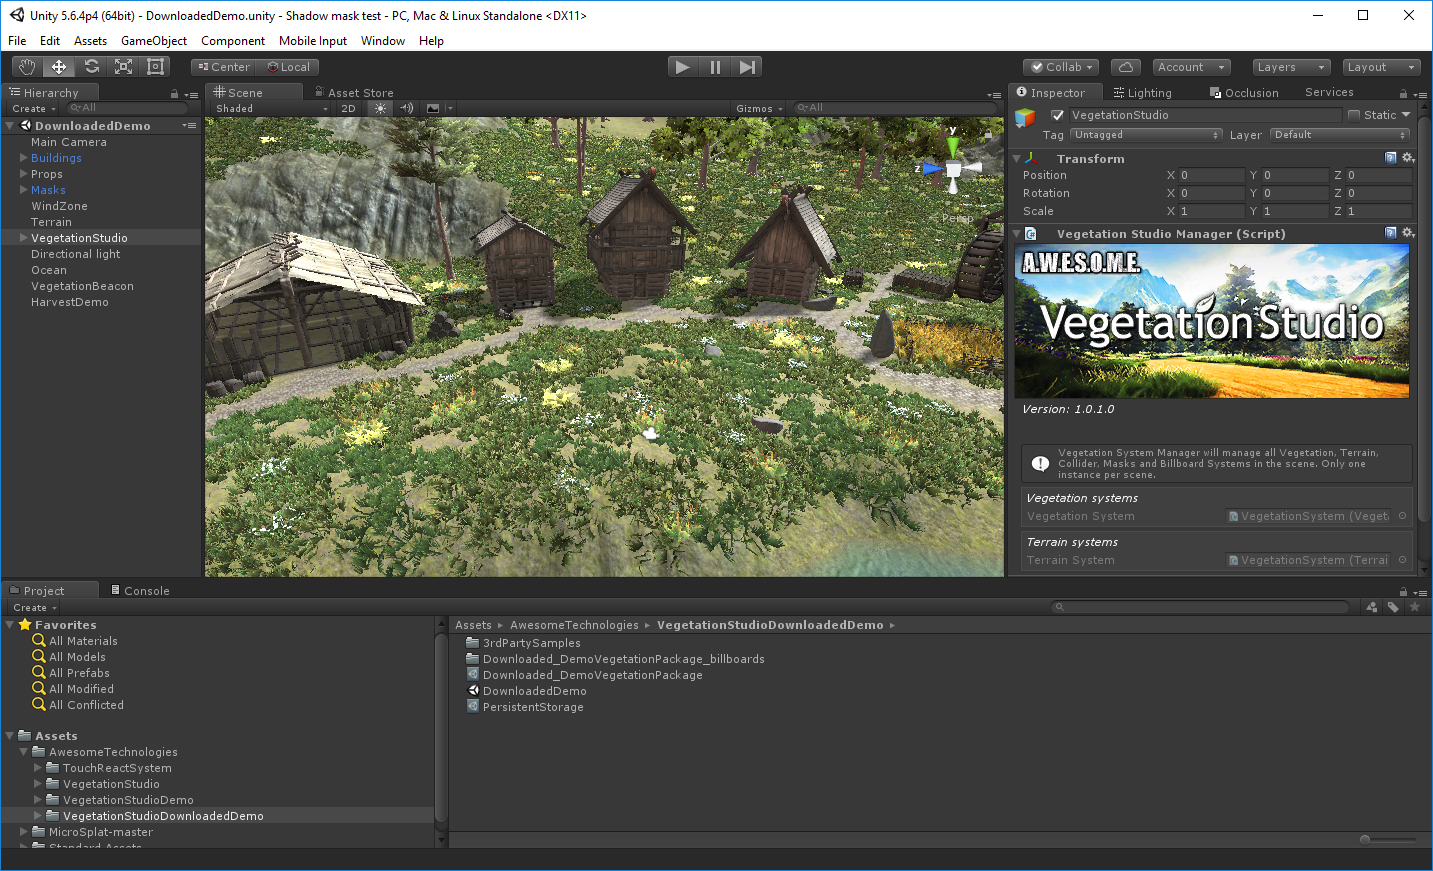
Start by loading the DownloadedDemo scene in Unity. See the readme file for install info.
Select the terrain in the scene and add the MicrosplatTerrain component.
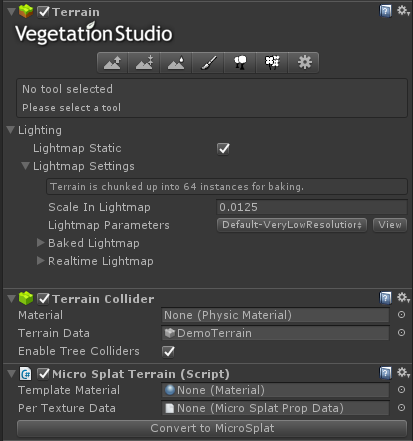
Press the convert to MicroSplat button to convert the terrain to MicroSplat.
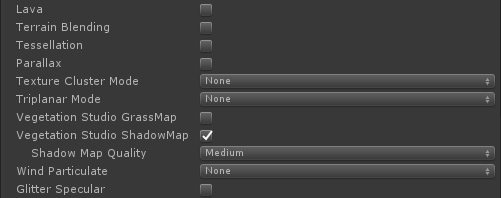
When convertion is done select the Template Material and enable the Vegetation Studio ShadowMap as shown in the image above.

Next step is to create the mask. Find the VegetationSystem GameObject and add the ShadowMaskCreator component.
Select the resolution you want for the shadow mask and press the generate shadow mask button. After the mask is generated you can remove this component.
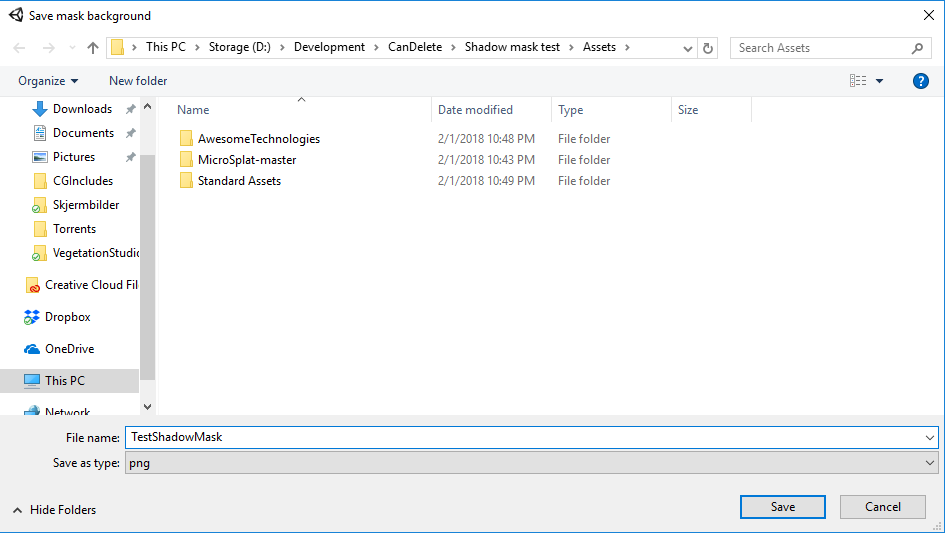
Select where to save the mask in the project folder.
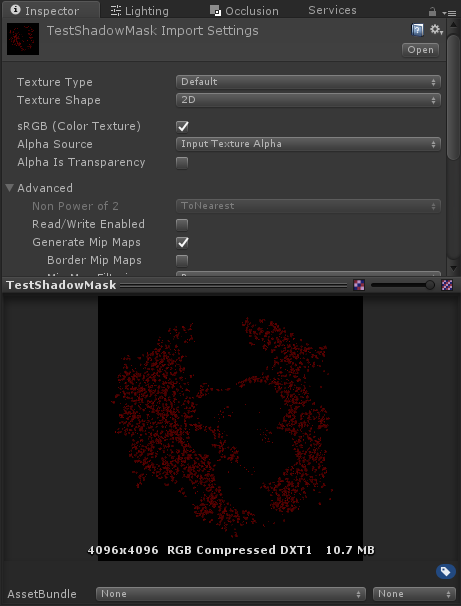
When the mask is saved you will find a texture in the project that should look like this.
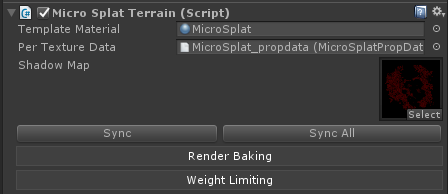
Next step is to add the mask to the MicroSplat Terrain component on the terrain.
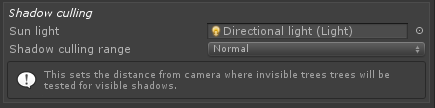
Now we have to make sure vegetation studio has the correct light assigned. On the render tab of the VegetationStudio component make sure the sun directional light is assigned.
Last step before pressing play is to look at the MicroSplat material again. There is a section called Vegetation Studio. Here you can adjust shadow strength and ambient light.

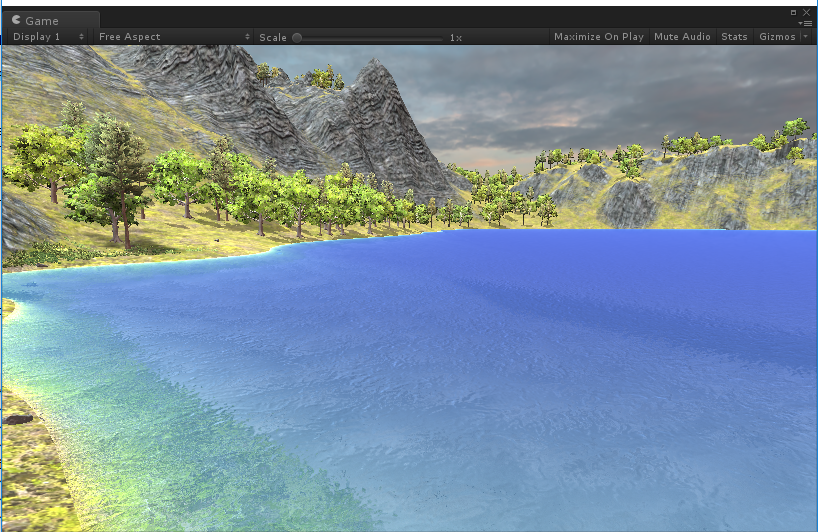
Enter playmode and try to rotate the directional light with the inspector. You will now see that the shadows follow the light and are projected on the terrain.