Vegetation Color Mask setup with Microsplat
Vegetation Color Mask setup with Microsplat
In this guide I will explain how to create and set up a vegetation color mask with the Microsplat terrain shader. Microsplat has a built in module for the vegetation color mask. As an example I will generate a mask from the included demo scene and set up Microsplat with the mask on the terrain. The module is included with the free Microsplat asset on the asset store. The mask is created using the VegetationColorMaskCreator component.
First we load the demo scene included in Vegetation studio. Find the terrain and add the Microsplat Terrain Component.
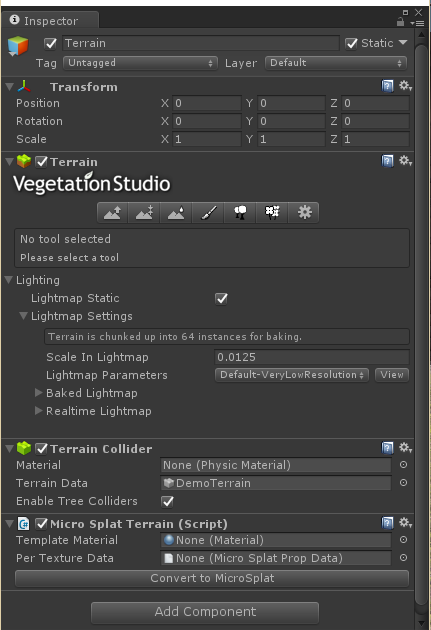
With the component added we need to update the terrain and create all the microsplat materials and texture arrays. Press the Convert to Microsplat button. After some seconds you will get this.
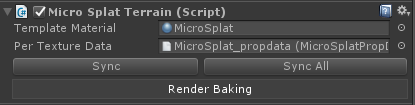
Microsplat is now set up on the terrain and is ready for use. Next step is to enable the Vegetation Studio grass module. Microsplat detects that Vegetation Studio is installed and enables 2 new modules. Click to enable the Vegetation Studio GrassMap
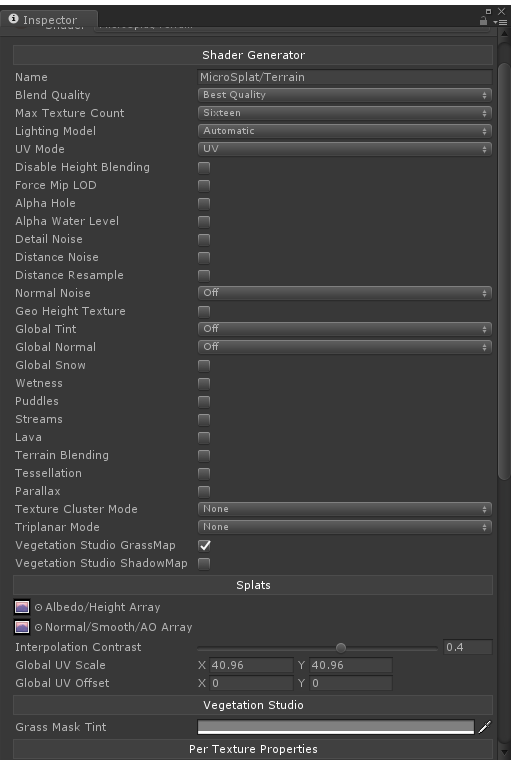
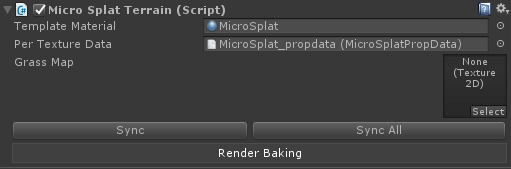
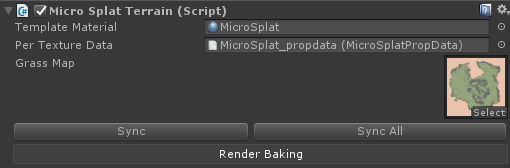
If we go back to the Microsplat Terrain component we will see that a GrassMap texture slot has shown up. Now to generate the mask itself.
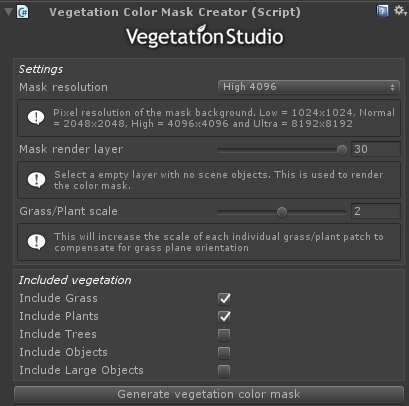
Find the VegetationSystem GameObject in the scene and add a VegetationColorMaskCreator component.
Press the “Generate vegetation Color mask” button. choose a save location in the project and wait. This could take a minute to generate. There is a progress bar
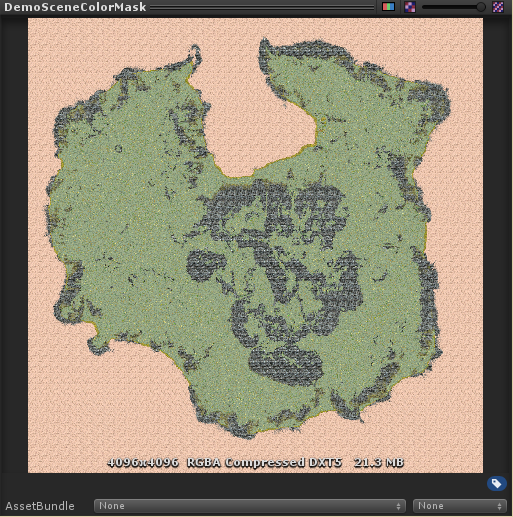
The resulting mask will look like this. It has an alpha for the non grass areas but this does not show in the unity preview window.
Now assign the mask to the empty Grass Map slot on the MicroSplatTerrain component and it is working.
For fine tuning you can adjust the mask tint on the new property that is added on the Microsplat material
![]()
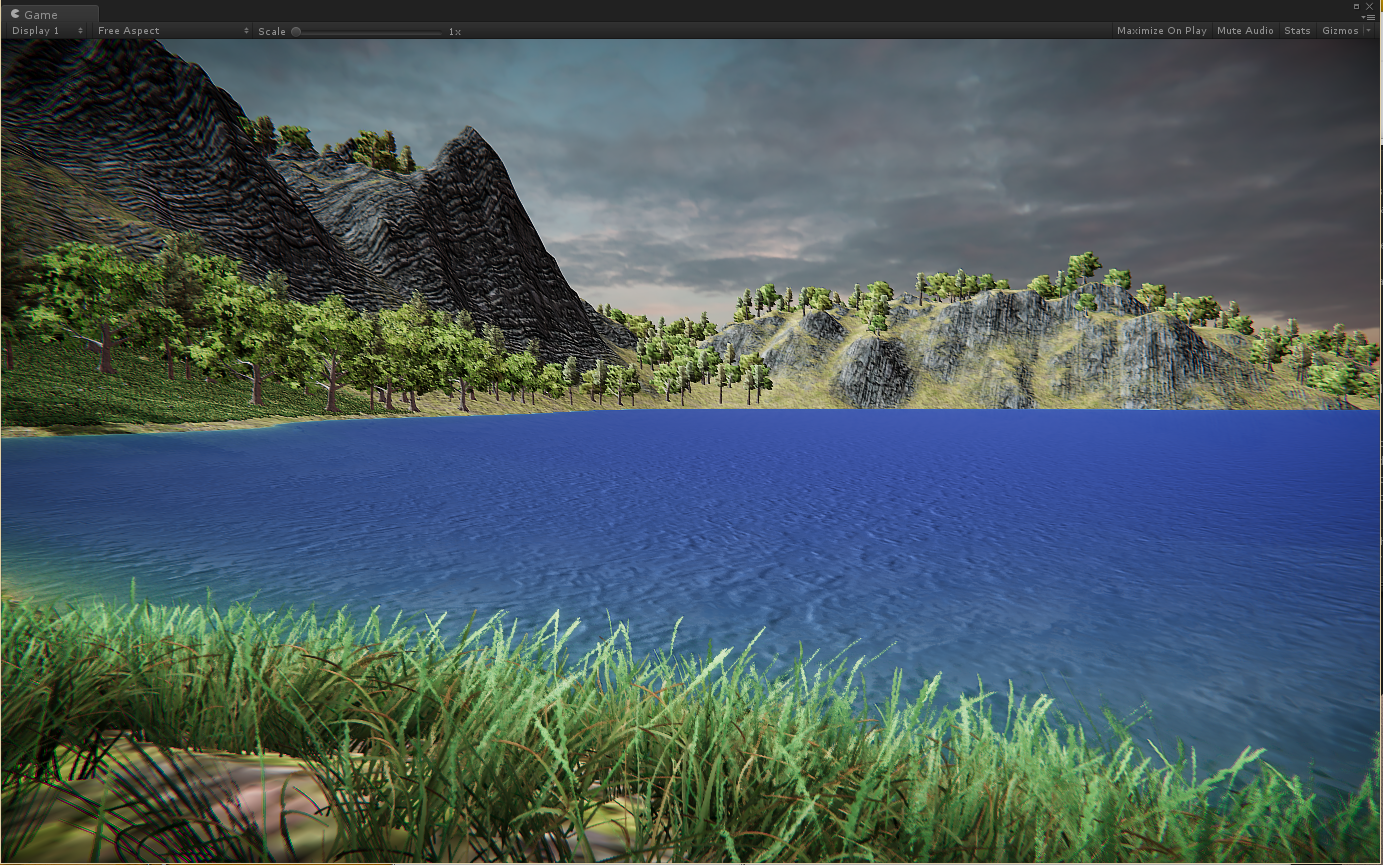
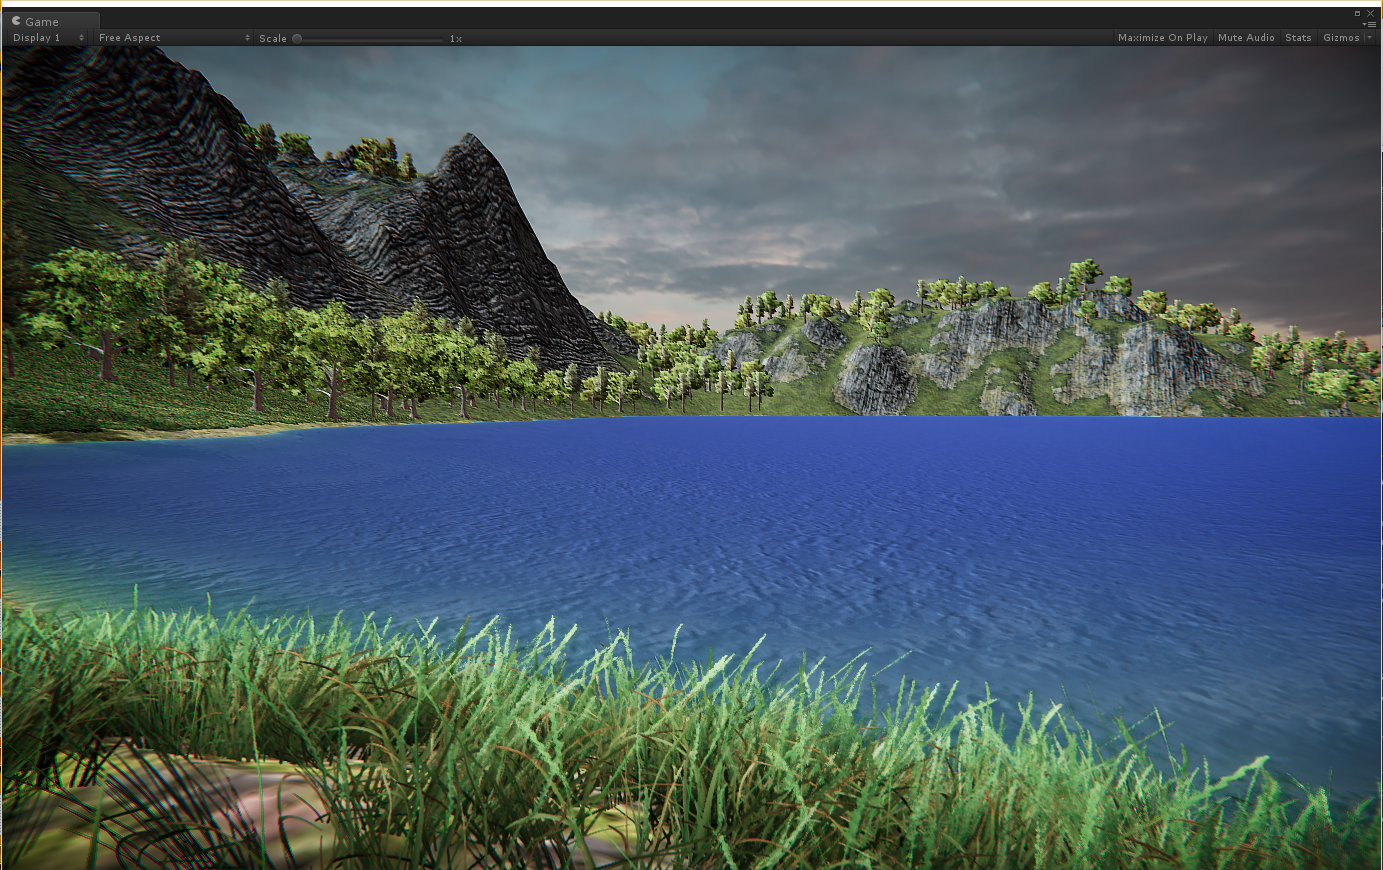
Here you see the result of the generated grass mask before and after.