Setting up Vegetation Studio Pro
Setting up Vegetation Studio Pro
This document will give you a quick guide to setting up Vegetation Studio Pro and biomes in a new project. It uses the new job system and burst compiler and requires some additonal setup.
Setting up Unity
The Vegetation Studio Professional beta has a few setup requirements.
The minimum requirement is Unity 2018.2.11 This will likely increase with time as Unity adds a bit more of the NativeArray/job functionality.
Set up a new project in Unity.
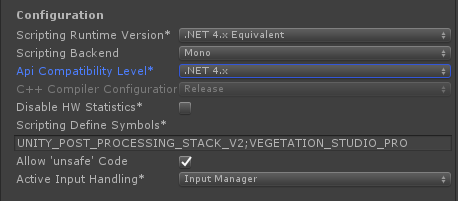
Go to Player settings and change the following settings.
- Scripting Runtime Version to .Net 4.x Equivalent
- Api compability level to .net 4.x
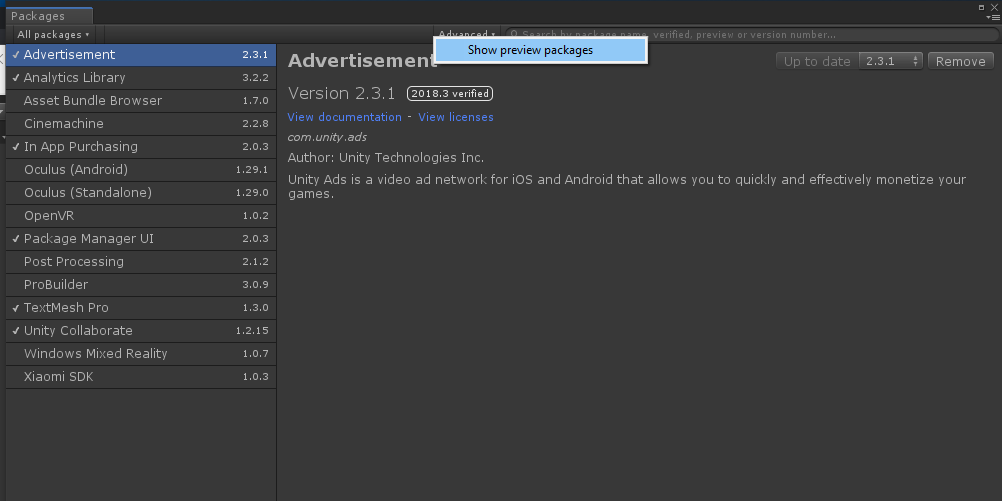
Then open the Package Manager from the window menu. You need to enable show preview packages to see them all.
In Unity 2018.3 + the window changed a bit and you need to turn on preview packages to see all of them
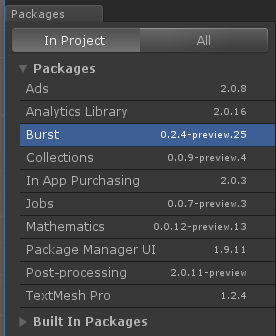
Select and install 5 packages
- Mathemathics
- Jobs
- Collections
- Burst
- Postprocessing
Install the latest version of each package.
Important
Unity 2018.2.x Some 2018.2.x users have reported an error when installing the latest Mathematics package. Installing Mathematics 0.0.12-preview 20 or earlier is needed.
Unity 2019.1.x Unity changed the name of a Job type suddenly in the jobs package.
For Vegetation Studio Pro versions older than 1.2 use Preview 11 – 0.0.7.
From 1.2 version upgrade to the latest job package.
if you have the Post Processing stack installed direct from GIT or another source you need to uninstall this and use the version from the package manager.
When done import the Vegetation Studio Pro package from Asset Store
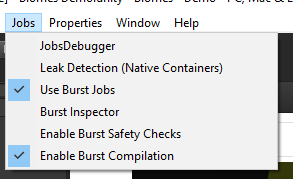
For better speed in the editor turn of the Jobs debuger and Leak Detection.
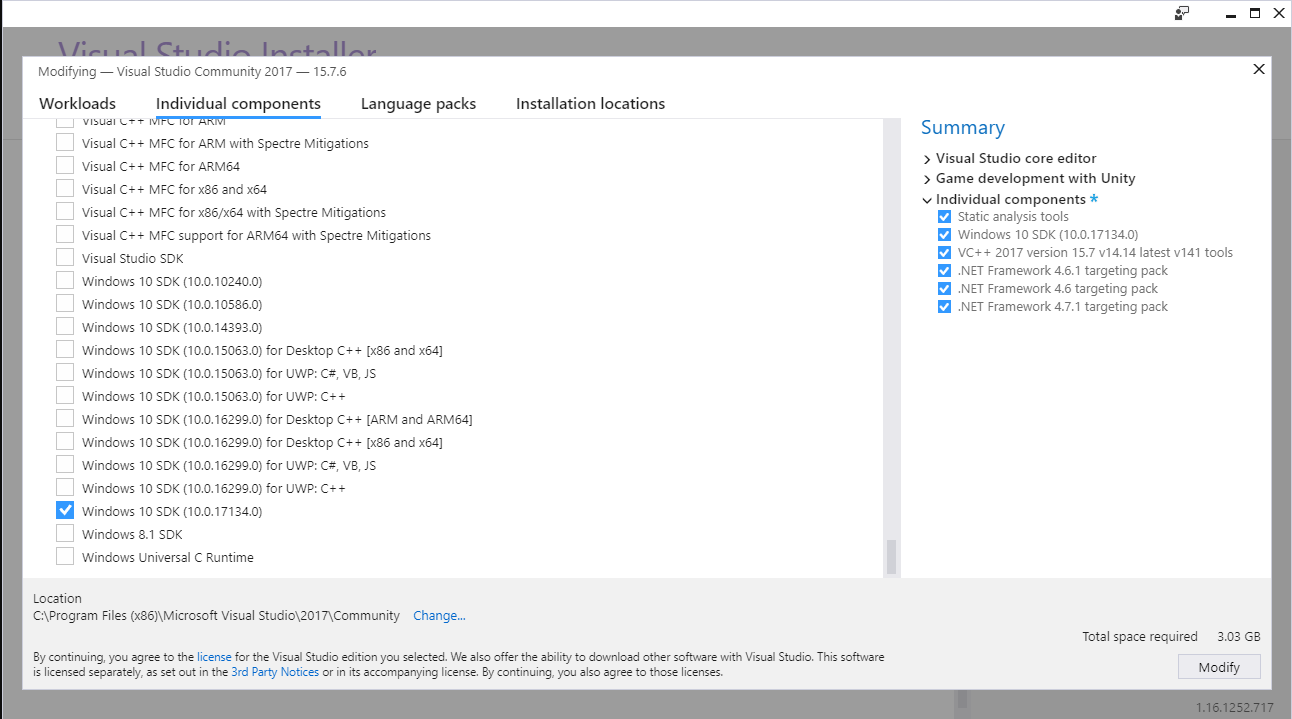
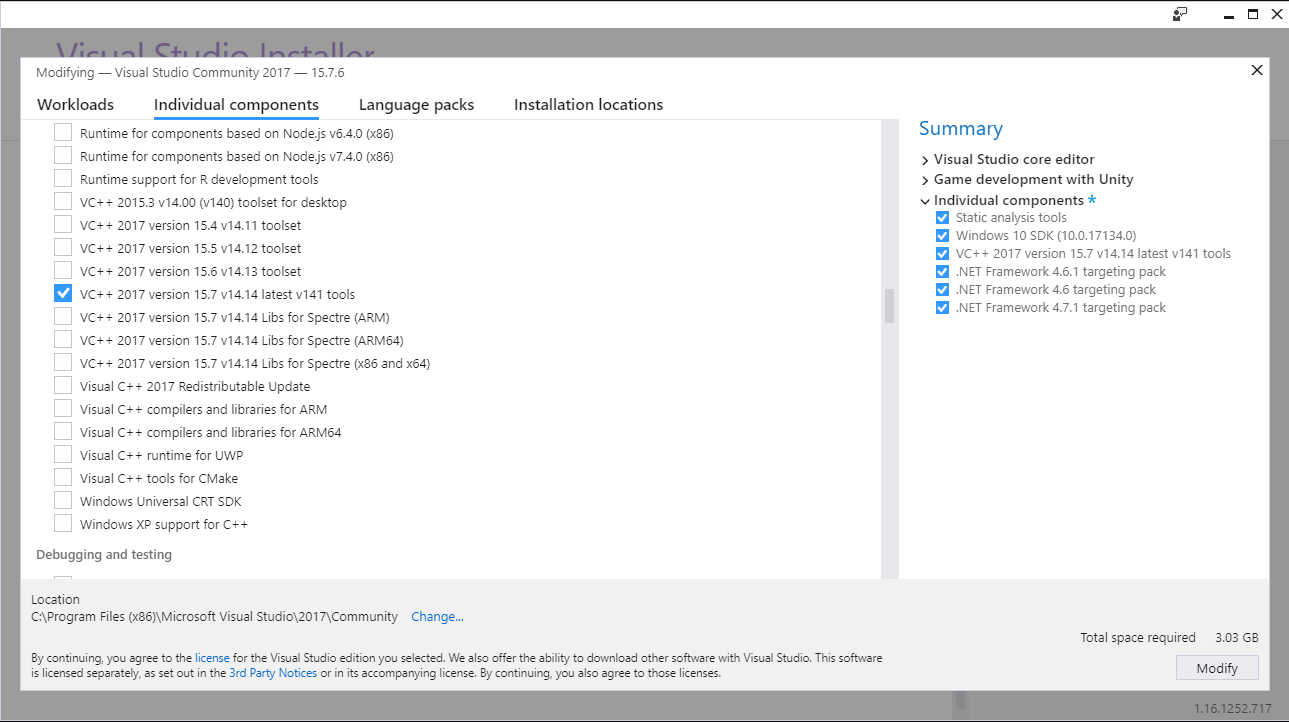
To use the burst compiler in standalone builds you need to make sure to install Windows SDK and VC++ toolkit from Visual Studio Installer
Here is a link to Unitys list of requirements for the burst compiler on different platforms. Look under Burst AOT Requirements.
Install the latest available version of each.
Upgrading from Standard Vegetation Studio
Vegetation Studio and Vegetation Studio Pro can not be in the same project. Remove the Vegetation Studio folders before importing. Also go to player settings and remove the VEGETATION_STUDIO compiler define.
You need to set up again and create a new vegetation package.
Adding Vegetation Studio Professional to a scene.
After installing the Vegetation Studio Pro beta package you can add Vegetation Studio Pro to the scene using the “Add vegetation Studio Pro to scene” menu.
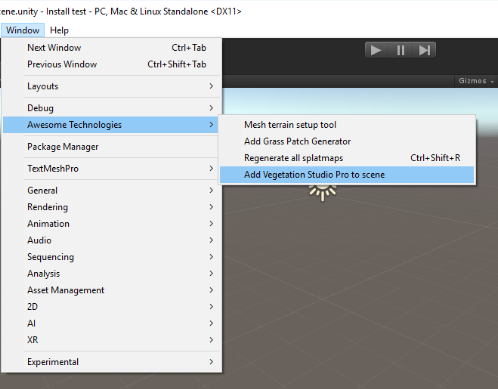
This will add the required component to the scene. The VegetationSystemPro object is what you will use most of the time.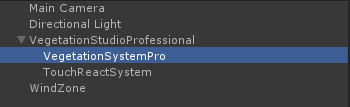
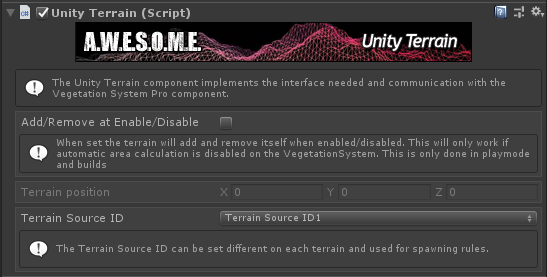
If you add the terrain to the scene after adding VS Pro you need to manually add the terrain.
Find the Terrain and add the UnityTerrain component.
Next on the terrains tab on the Vegetation System pro component you drag and drop the terrains. You can add multiple terrains here.
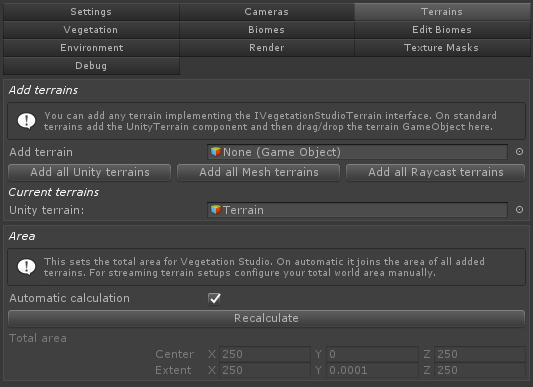
The world area will be calculated automatic from all added terrains. For setups where you load terrain run-time you uncheck automatic calculation and define the total world area.
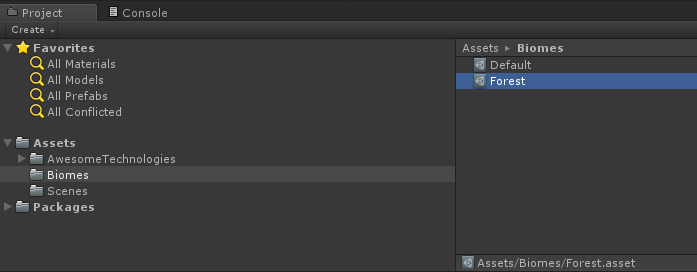
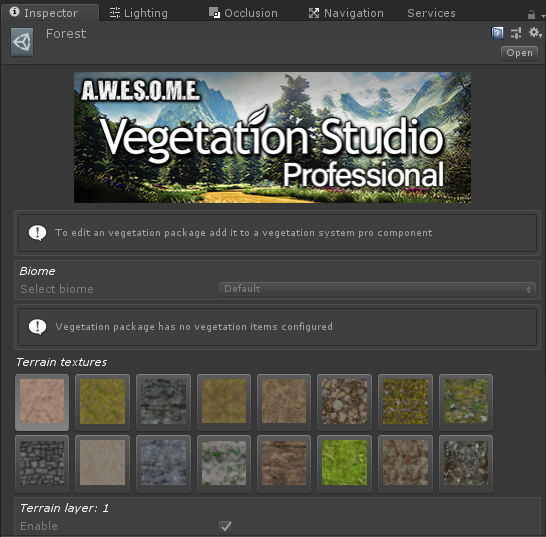
Next we create vegetation packages/biomes. These are scriptable objects that hold all the rules for vegetation spawning. For this example we will create 2 biomes. a default biome and a forest.
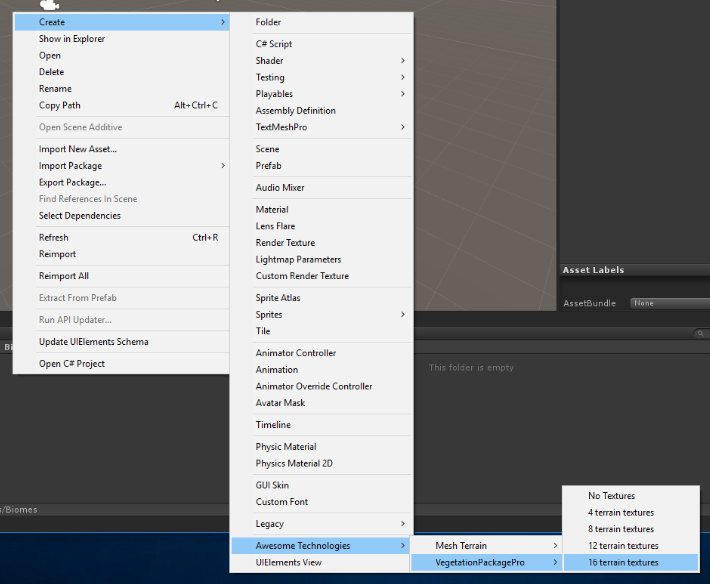
If you are going to use biomes together and create splat map rules it is important that all biomes are set up with the same number of textures.
Each biome can have its own splat map generation rules and use any subset of the total textures. This way one biome can use textures 1-5 while the other uses 4-8. There is no problem for the biomes to use the same textures. When the splatmap is generated the rules will be used inside the biome mask area.
Next you add the biomes to the biomes tab of the Vegetation System and name them. Here i set my “default” biome as default and the other as a forest biome. This biome type will also be set on the BiomeAreaMasks we create later.
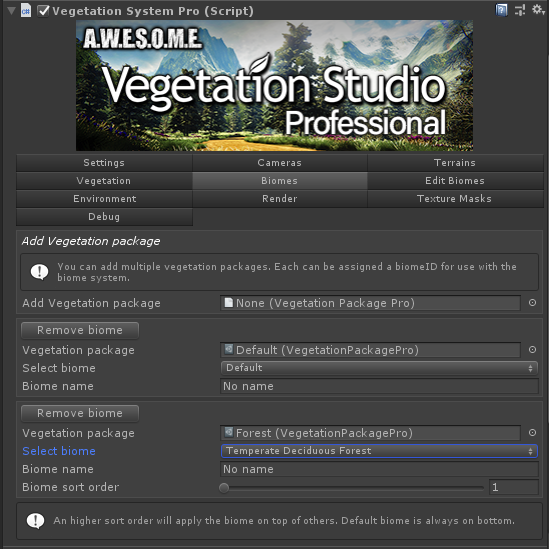
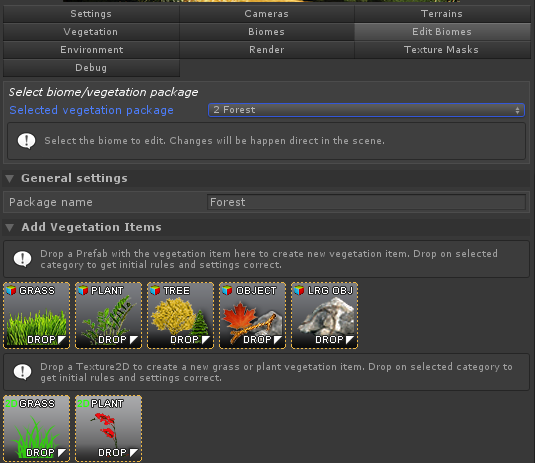
When added you can select what biome to edit on the edit biome tab. This process is similar to normal Vegetation Studio
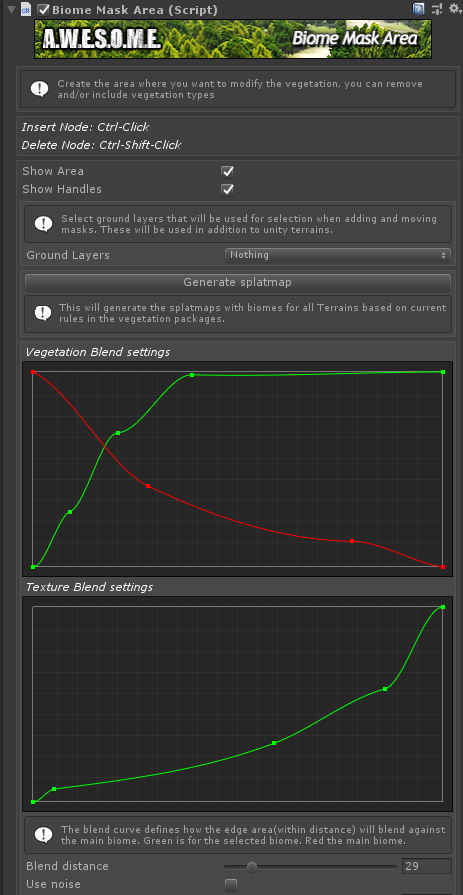
Setting up a biome mask area
The default biome will be used everywhere where there is no BiomeMaskAreas. Add the BiomeMaskArea to a component and edit the nodes to select the area you want. There is also a pre made prefab you can drop in the scene.
For each biome mask area you select what biome should be in the mask area. If the Vegetation System has a biome/vegetation package of the same type it will be spawned within the mask.

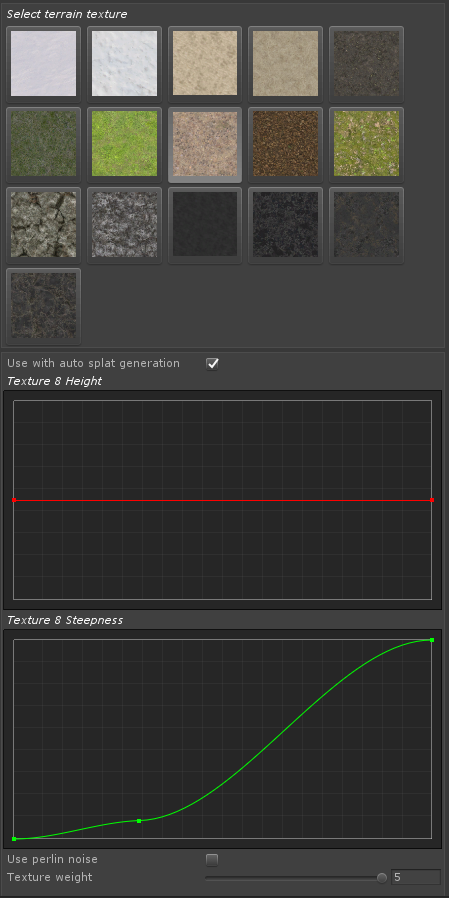
Splatmap rules
There is a TerrainSystem component on the same GameObject as the VegetationSystem component. This is used to set up splatmap rules for the added biomes. Select the biome you want to edit. Then enable the Use with splat map generation setting on the textures you want to use with this biome. You then set the distribution curves for height and steepness. There is also noise and weight settings.
Press the generate button to generate the splatmap for all terrains added to the vegetation system.