Getting started
Get started with Vegetation Studio
This guide will explain how to do your first setup of Vegetation Studio in your scene.
first have a look at this video showing the main components of Vegetation Studio
And a getting started video.
First you need to set up an instance of the Vegetation Studio Components. To add this select the menu “Window/Awesome Technologies/Add Vegetation Studio to scene”
This will add the needed objects to the open scene.
![]()
The system has three main GameObjects. VegetationStudio has a Vegetation Studio Manager Component. There can be only one of these in the scene. The VegetationSystem GameObject holds four components and is the object you will configure in this getting started guide.
When adding Vegetation Studio to the scene it will do some configuration on the terrain. Turn off Unity grass and tree rendering, minimum setting on pixel error etc. To override these settings disable this update on the settings tab of the VegetationSystem component.
Next step is to create a Vegetation Package. This is a scriptable object that will save all your vegetation rules and settings. Create a new folder to save the object in. It is recommended to place this folder outside of the “AwesomeTechnologies” folder as it makes upgrading to a new version easier.
To create the Vegetation Package right click in a folder in project view and select “Create/Awesome Technologies/Create Vegetation Package”.
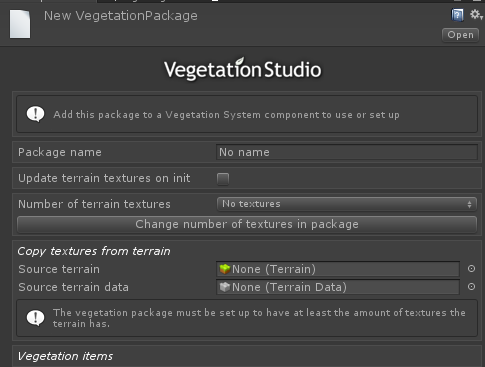
If you want Vegetation Studio to handle terrain textures and generate splat map from them, select the number of textures you would like to use on the terrain. See TerrainSystem Component for more info on splat map generation. If you have a vegetation package with textures it will replace the textures on the terrain (keeping the splat maps) when you assign it. This is done to be able to have a summer and winter package. etc. If you have a 3rd party shader like MicroSplat or CTS create a package with no textures.
For now, select “no textures”.
Name the package what you want.
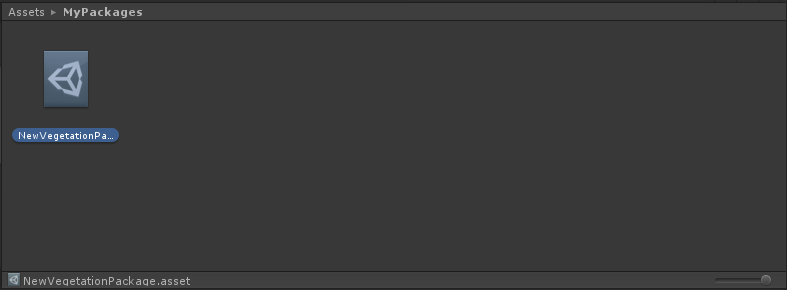
New Vegetation Package asset in folder.
Select the new package and also give it a package name in the inspector.
Next select the VegetationSystem GameObject and find the Vegetation Studio Component.
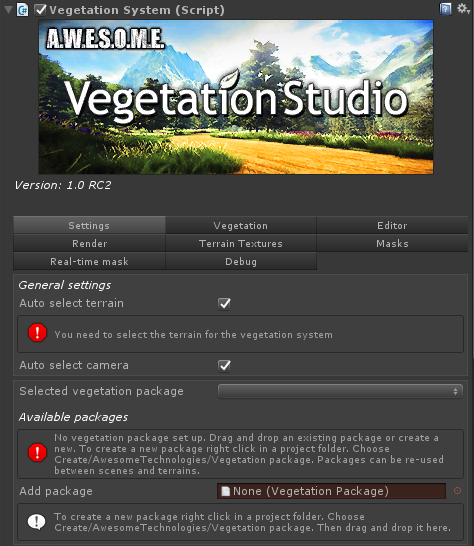
Add a terrain to the scene if you get a missing terrain error.
You will see it has an error for missing vegetation package. Drag and Drop your newly created vegetation package to the “Add package” field.
By default Vegetation System will disable unity trees and details on the terrain. Nothing is deleted. You can enable this again if you want.
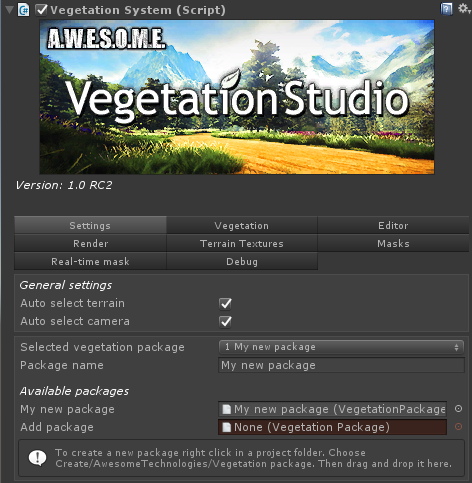
You will now see your new package listed under available packages and selected. It is possible to have several packages added and switch between them in code or inspector.
As this package is empty and has no rules you will not see any vegetation on your terrain.
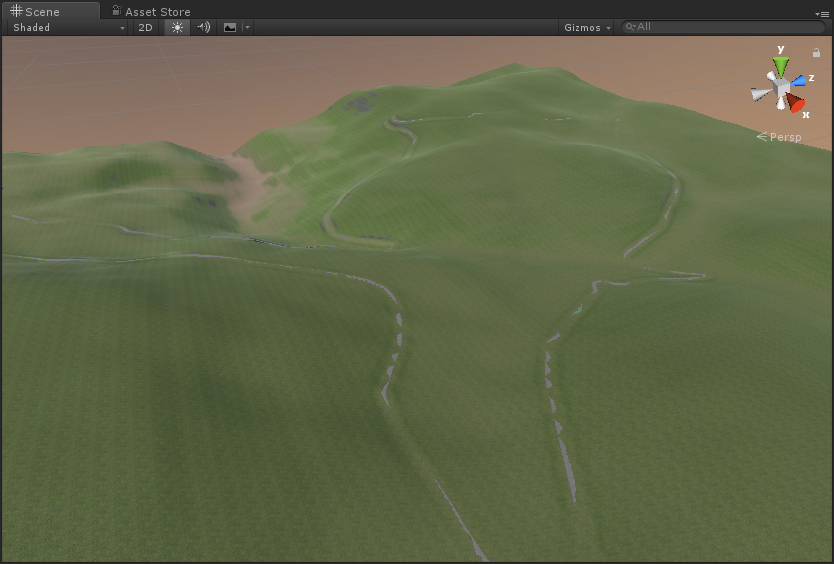
Terrain with the new empty vegetation package
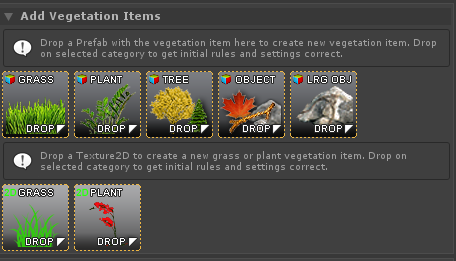
To start adding vegetation rules to the package select the vegetation tab of the Vegetation Studio Component.
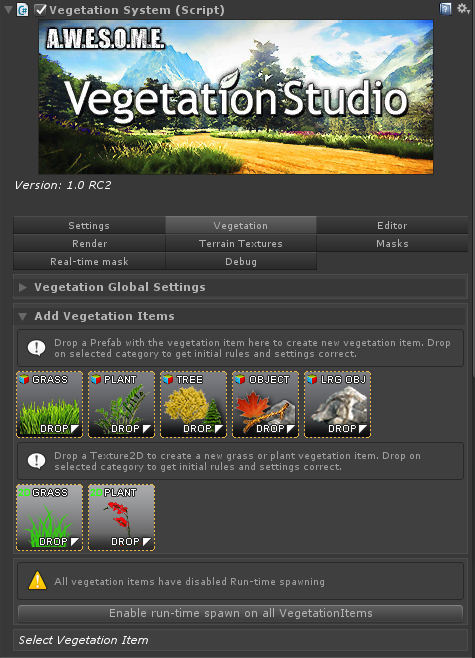
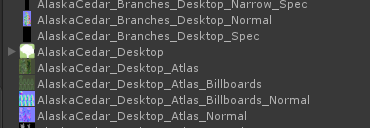
Find a vegetation prefab to add to the system. In this case we are adding a speedtree Alaska Cedar model.
Drag and drop this to the “Add tree prefab” drop box in the Vegetation Tab. This will create a new default tree rule.
The terrain will populate with trees based on the default rules.
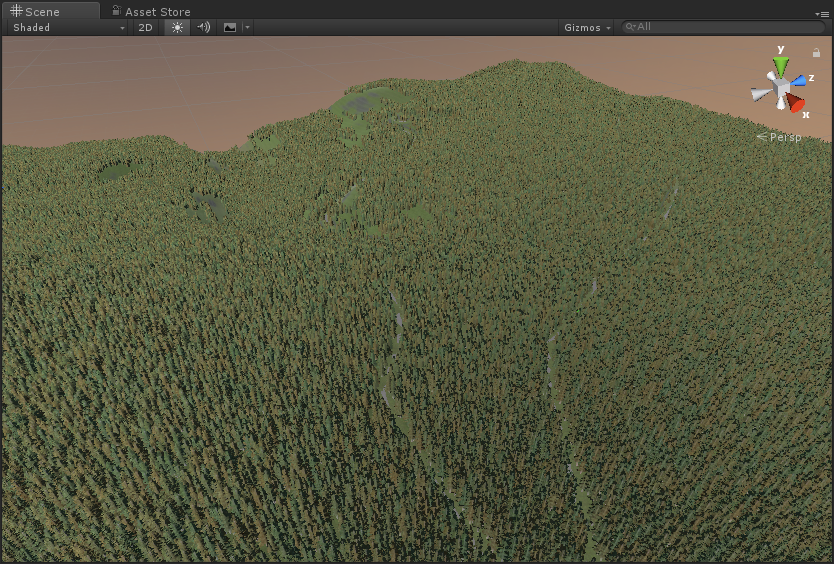
Overview of the terrain with a mix of mesh trees and billboards
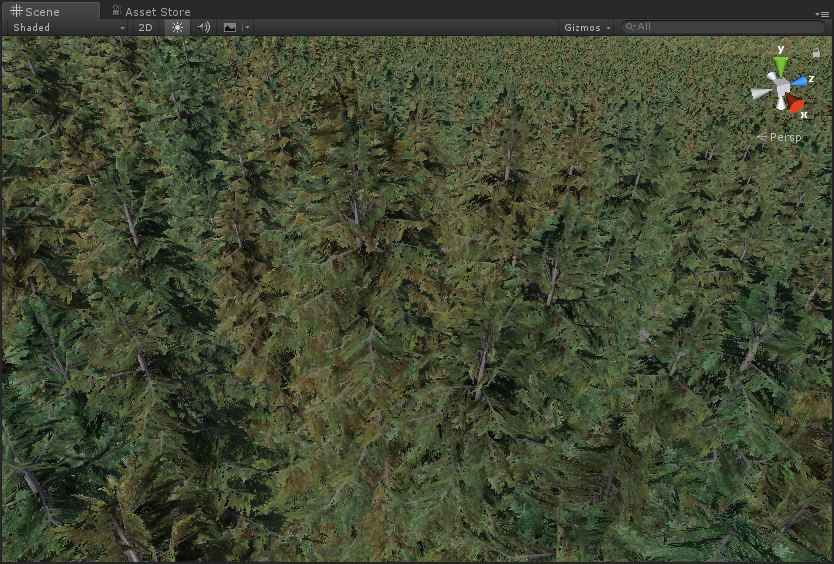
Closer view of the added trees
Next step is to adjust these rules. Add more trees, plants or grass.
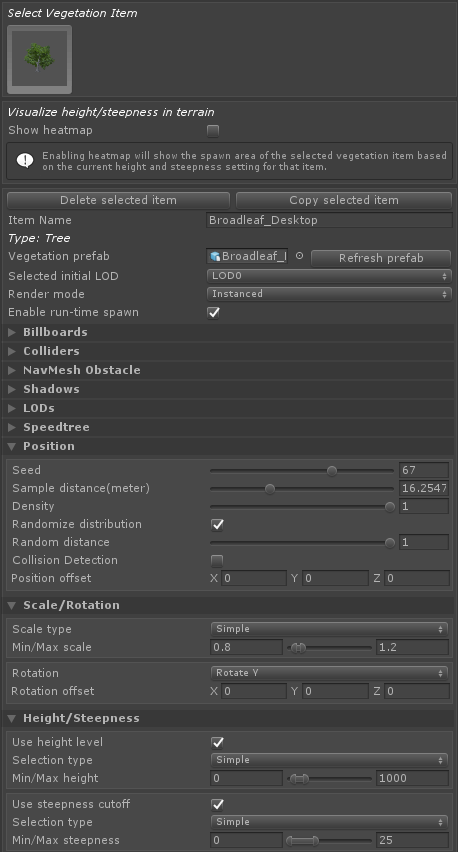
Look in the documentation for the components to get detailed information on rules and settings.